
Why Does My Printer Say Paper Jam When There Is No Paper?

A “paper jam” with no visible paper is often caused by a hidden scrap, a stuck sensor flag, dirty rollers, or a stale error state; check the paper path, then power-cycle the printer. Ignoring it can waste paper, damage rollers, and keep the printer offline. This guide shows a fast diagnostic path to find the cause and clear the error.
Paper jam decision table
Use this table to sort the symptom before you open every panel. The goal is to match what you hear or see to the most likely zone in the paper path, then stop once you reach the next sensible inspection point.
| Branch | Most likely cause | Exact area to inspect next | Safest tool to use | Stop point for escalation |
|---|---|---|---|---|
| No visible paper | Hidden scrap, stuck sensor flag, or stale jam state | Input tray, pickup rollers, then the rear access panel and duplexer tray if fitted | Flashlight; tweezers only for a loose scrap | Escalate if the path is clear and the error returns after a hard reset |
| Grinding noise | Mechanical jam, roller slip, or a part blocked in the path | Rear exit, duplexer tray, and cartridge area with covers open | Flashlight; manual rotation only if the manufacturer allows it | Stop if the noise continues after the path is visibly clear |
| Error only after a previous jam | Retained error state, bent sensor flag, or small scrap left behind | Sensor areas near the input tray, duplexer, or fuser exit | Flashlight and a dry visual check | Escalate if a power cycle and queue check do not clear it |
| Error with repeated misfeeds | Dirty, worn, or glazed feed rollers; timing error | Pickup rollers, separation rollers, and tray guides | Lint-free cloth lightly moistened with distilled water | Escalate if rollers are worn smooth or the printer still slips after cleaning |
Why does my printer say paper jam when there is no paper?
The message usually means the printer still sees a blockage or still thinks it saw one. The paper path runs from the tray to the output, and it includes rollers, sensors, covers, and guides. A hidden scrap, a blocked sensor, or a retained error state can all trigger the same warning.
Why the message can linger
Printers use optical sensors and mechanical flags to track paper as it moves. If a tiny torn piece keeps a flag from returning, or dust blocks an optical sensor, the printer may report a jam even after the visible sheet is gone. A stale error state can do the same thing.
Manufacturer support pages usually split the task into two parts: clear the path, then reload paper correctly. That order matters. If you reload first, you can hide the obstruction again or make it harder to tell whether the error came from a real jam or a retained status.
Common causes by likelihood
A false paper jam is usually caused by a tiny torn scrap, a stuck sensor flag, or dirty rollers. Epson-specific guidance also points to hidden scraps, dust on the sensor, and a dirty roller. The same symptom can appear after a real jam or after printing thick or glossy paper.
Suppose the printer jammed yesterday, the sheet was removed, and the app still says jam this morning. That points first to a retained error state or a small scrap left in the path, not to a new blockage at the tray.
Where should you inspect first?
Start where paper first enters and where it exits. That gives you the fastest read on whether the jam is near the pickup rollers, in the rear exit, or trapped in a hidden branch such as the duplexer tray. Open all access doors and use a flashlight before you touch anything.
Input tray and pickup area
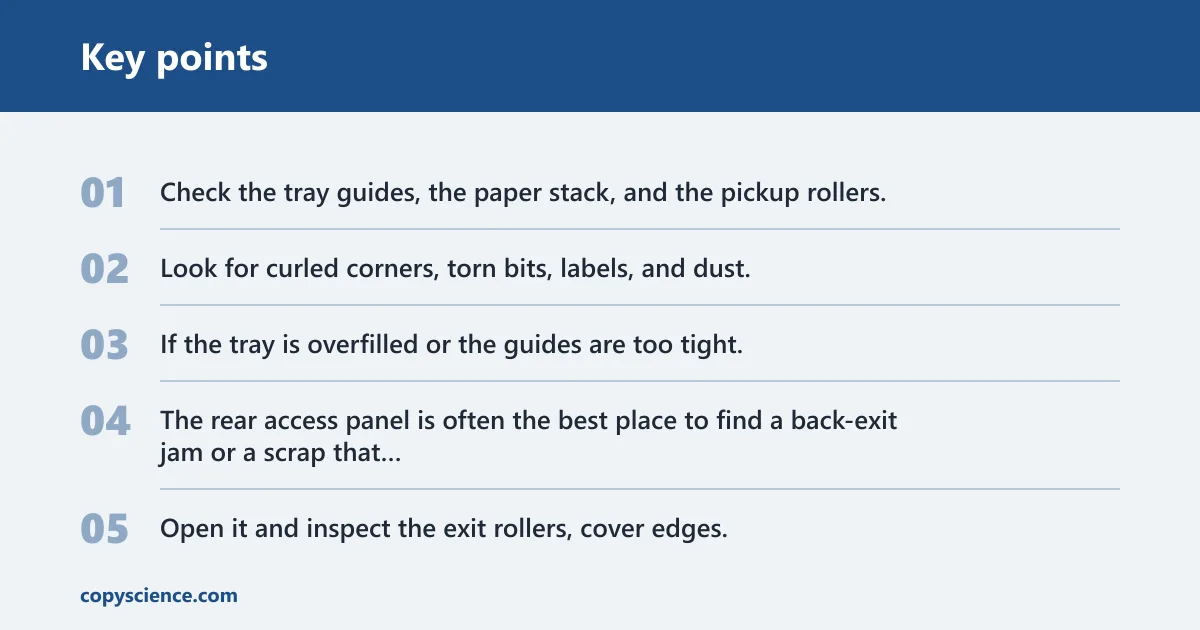
Check the tray guides, the paper stack, and the pickup rollers. Look for curled corners, torn bits, labels, and dust. If the tray is overfilled or the guides are too tight, the printer can pull at an angle and trip a sensor, even when no sheet is visibly jammed.
Rear access panel and back exit
The rear access panel is often the best place to find a back-exit jam or a scrap that fell into the lower path. Open it and inspect the exit rollers, cover edges, and any narrow slots where paper can tear. This area often hides small scraps that a quick front check misses.
Duplexer tray
On duplex-capable printers, the duplexer tray can hide debris and leftover torn pieces. Open it during inspection, then check both sides of the path where the paper turns around for second-sided printing. A scrap here can cause a jam message even when the main tray looks clear.
Cartridge area and internal guides
Look inside the cartridge area and along the internal guides for a bent sensor flag or a torn label edge. Common sensor locations include the input tray zone, the duplexer path, and the fuser exit. A small piece near any of those points can block motion or trigger a false reading.
Picture a letter-size sheet that tore near the rear exit. The front tray looks clean, but the printer keeps stopping halfway through. In that case, the rear access panel is the next place to inspect, not the tray.
How do I find tiny scraps safely?
Use a flashlight first, then inspect the whole paper path slowly. Tiny scraps, adhesive residue, and bent sensor flags are easy to miss in deep channels. If you find a loose piece, tweezers are fine for gentle removal only. Do not force them into a tight slot or pull against resistance.
Look before you touch
Open all access doors and scan the path from the tray to the output. A flashlight helps reveal torn corners, labels, and glossy residue that can hold a sensor in the wrong position. If a flag or flap looks bent, stop and compare it with the nearby parts instead of pushing it back hard.
Use tweezers only for loose scraps
Tweezers are for tiny scraps that already move freely. Grip the paper fragment lightly and pull straight out along the path the paper normally travels. Do not twist, jab, or force anything that feels attached, because that can tear a part or leave more debris behind.
What not to miss
Check for adhesive residue near labels, envelope seams, and thick-paper paths. Epson guidance warns not to pull paper backward against the feed direction, and that advice applies here too. If the scrap sits deep in the path, remove it from the nearest open access point rather than dragging it back through rollers.
Can a dirty roller cause this error?
Yes. Dirty, worn, or glazed paper feed rollers can slip and create a timing error even when no sheet is stuck. The printer expects paper to reach each sensor at a certain moment. If the rollers hesitate, the machine can report a jam, a misfeed, or a pickup failure.
Signs of roller slip
Repeated misfeeds are the classic sign. The printer may grab a sheet, pause, and then stop with a jam message. In some cases, the paper never leaves the tray at all. That pattern points more to pickup rollers than to a hidden scrap in the output path.
What to clean and what to leave alone
Clean only the paper feed rollers and the accessible paper path. Use a lint-free cloth lightly moistened with distilled water, then let the rollers dry fully before turning the printer back on. Leave belts, gears, and other parts alone unless the manufacturer’s guide says otherwise.
When rollers are worn or glazed
If the roller surface looks smooth and shiny, cleaning may not fix it. Worn or glazed rollers lose grip and keep slipping on plain paper. At that point, repeated misfeeds are more likely than a hidden jam scrap, and the printer may need service or a parts replacement.
How do I clear a stuck jam state?
First stop printing, turn the printer off, and unplug it for about 60 seconds before restarting it. Wait about 60 seconds, then restart and check whether the message clears. This hard reset can remove a retained error state after the paper path is already clear. If the warning remains, move to queue and maintenance checks.
Power reset in the right order
Turn the printer off before unplugging it. After waiting about 60 seconds, reconnect power and start the printer again. That brief pause gives the device time to clear a retained jam status, which is a common reason the message stays on screen after the obstruction is gone.
Check the queue and printer-side menus
After the physical path is clear, inspect the print queue for a stuck job. Then check built-in maintenance menus or firmware options if your model provides them. If the printer or app still shows the old error while the path is clear, the issue may be software-side rather than mechanical.
When to stop and escalate
If the paper path is clear, the rollers look sound, and the error returns after a hard reset, stop troubleshooting. That pattern can point to a stuck sensor flag or a board fault. At that stage, manufacturer support is the next step, especially if the printer keeps reporting the same jam in the same zone.
What should you do if your printer makes grinding noises but shows no jam?
Grinding or clicking usually means a real mechanical problem, even if no paper is visible. A loose gear, a blocked roller, or a hidden scrap in the rear exit or duplexer can make that sound. Stop the job, open the access points, and inspect the path before trying again.
Do not keep restarting a printer that grinds. If the sound appears with a false jam message, the likely cause is still in the paper path or near a sensor. A printer that sounds rough after a previous jam deserves a deeper check of the rear access panel, tray, and internal guides.
Frequently asked questions
What causes a false paper jam on a printer?
The most common causes are a tiny torn scrap, a stuck sensor flag, or dirty rollers. Dust can block optical sensors, and a bent mechanical flag can stay in the wrong position. The exact cause often matches the zone where paper last moved: tray, rear exit, duplexer, or cartridge area.
How do I clear a paper jam error when nothing is stuck?
Clear the paper path, then power the printer off and unplug it for about 60 seconds. Restart it, then check the queue. If the error remains, open the access doors again and inspect the sensor areas with a flashlight, especially near the input tray, duplexer, and fuser exit.
Can a dirty roller cause a paper jam error?
Yes. Dirty or glazed rollers can slip and create a timing error that looks like a jam. Repeated misfeeds are a common clue. Clean only the rollers with a lint-free cloth lightly moistened with distilled water, then let them dry fully before turning the printer back on.
Where are the paper jam sensors in a printer?
Paper jam sensors are usually optical sensors or mechanical flags, and they are commonly found near the input tray, the duplexer, or the fuser exit. Use a flashlight and open access doors to check whether dust, scraps, or a bent flag is blocking the sensor’s normal movement.
Do I need to reset my printer after clearing a jam?
Often, yes. A hard reset means turning the printer off, unplugging it, waiting about 60 seconds, and starting again. That clears many retained error states after the path is clean. If the message stays after that, check the queue, firmware, and maintenance menu options.