
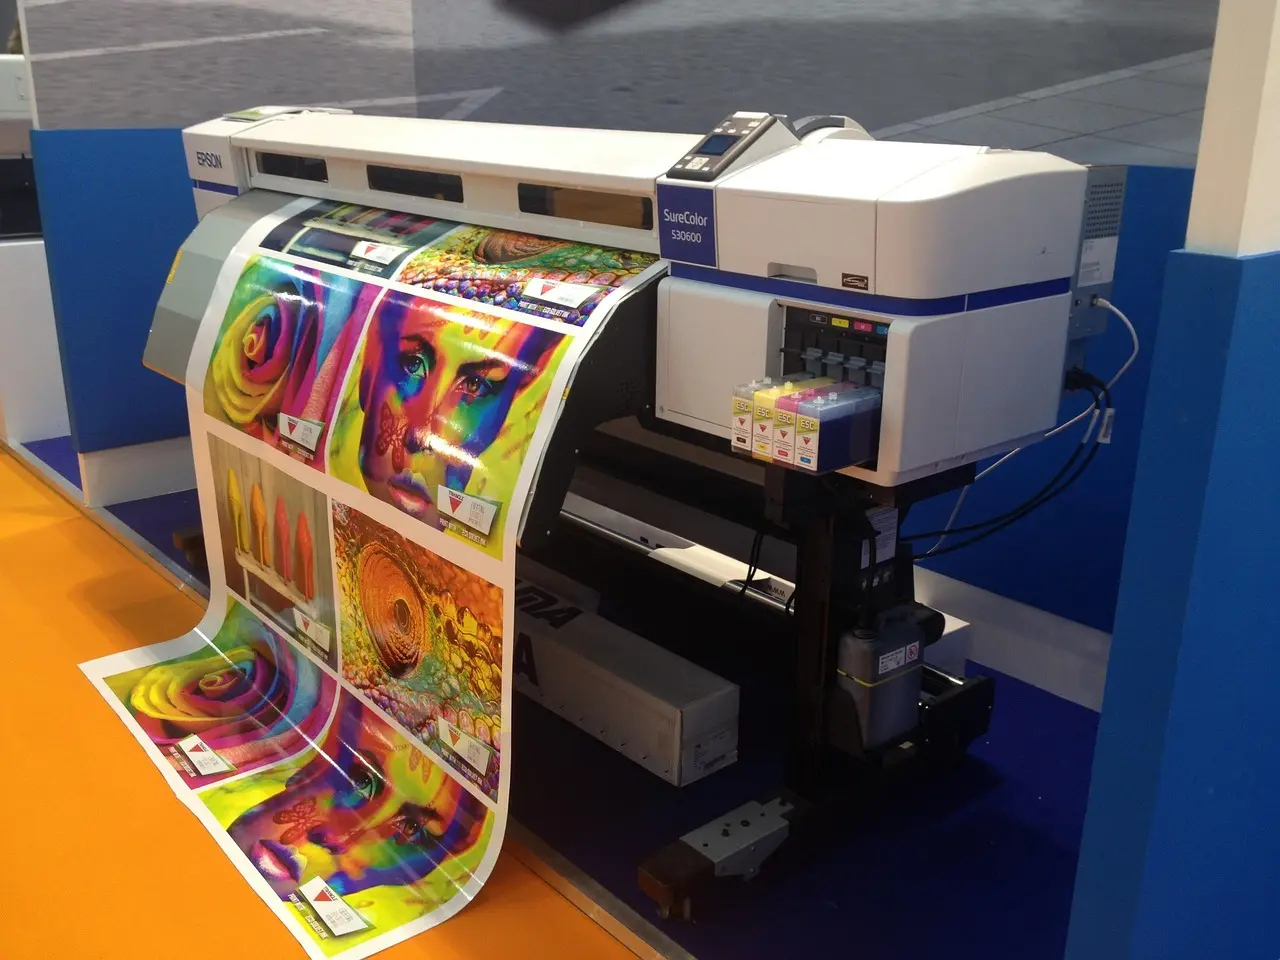
Printer Not Printing Black Ink: Causes and Solutions

If color prints but black is missing or faint, run a nozzle pattern first, then inspect the black cartridge vents, and then check print settings; clean the head only after the test print shows black is failing. Reverse that order and you can waste ink, miss a blocked vent, or chase a software setting that is not the cause. This guide shows how to identify the exact black-ink failure mode and match it to the right fix.
Why your printer is missing black
When color comes out normally and black does not, the fault is usually in the black path, not the whole printer. That can mean an empty or misseated black cartridge, dried ink in the printhead, a wrong paper or grayscale setting, a driver problem, or, on some Epson models, the wrong black channel.
Start by separating three patterns: black missing completely, black printing as a faint gray, and black failing only after a cartridge change. Those patterns point to different fixes. A printer that prints black badly on every page is not the same as one that prints black on plain paper but not on a photo setting.
What the symptom usually points to first
For an inkjet printer, a nozzle pattern is commonly used as an early first check. The guide page notes that color can print perfectly while black ink refuses to print, and that broken or missing black lines in the test pattern point to a likely printhead clog. If the pattern is clean, settings or drivers move up the list.
Say your document prints blue and red text clearly, but the black headline comes out blank. That usually points first to the black channel, not to all ink. If the same page prints a faint gray headline instead, look harder at ink starvation, a wrong black type, or a setting that is building black from other colors.
Black ink decision table
This table maps the symptom to the most likely cause, the first test, the second fix, and the stop rule. Use it before you run multiple cleaning cycles.
| Symptom | Likely cause | 1st test | 2nd fix | When to replace cartridge or call service |
|---|---|---|---|---|
| Color prints, black missing | Empty or near-empty black cartridge, clogged printhead, wrong setting, or driver issue | Run a nozzle check and inspect the black lines | Reseat the cartridge, check paper type and black-and-white mode, then run one cleaning cycle | Replace the cartridge if ink is low, the chip is rejected, or a new cartridge still fails; call service if cleaning does not change the nozzle pattern |
| Faint gray black | Partial clog, air in the ink path, wrong paper type, or composite black fallback | Print a plain-text page and a nozzle check | Run one to three cleaning cycles, then alignment if the model supports it | Replace the cartridge if gray output continues after a clean nozzle pattern or after the stop limit on cleaning |
| Fails after new cartridge | Protective tape left on, bad seating, defective cartridge, air bubbles, or dirty contacts | Check for tape, clip, seating, and contact alignment | Remove and reinstall the cartridge, then power-cycle and reprint | Replace the cartridge if the printer still rejects it or black remains absent; service may be needed for contact or chip faults |
| Epson PBK/MBK mismatch | Wrong black channel selected for the paper type | Check paper type and the black type the driver selects | Match the paper setting to the job so the printer chooses Photo Black or Matte Black correctly | If the correct black still does not fire after settings are right, check for bubbles or a clogged head; service if the channel never primes |
| Laser printer faint black | Low toner, imaging fault, drum issue, or transfer problem rather than ink clogging | Print a supplies or status page | Reseat the toner and check the drum or imaging unit path | Replace toner or drum if the status page points there; call service if faint black remains after the supply check |
Check the black cartridge first
The black ink cartridge can be empty, near-empty, misseated, taped, or defective even when it is new. The compandsave article notes that a printer may have plenty of ink and still produce blank black text, and it also advises checking whether the cartridge was installed properly and reseating it.
Look for the obvious first. Make sure the cartridge clicks fully into place, the vent is open, and any shipping tape or clip is removed. A new cartridge can fail if the tape stays on, if the chip does not seat cleanly, or if the contacts are dirty.
- Open the access door and remove the black cartridge.
- Check for protective tape, foam, or a transport clip.
- Inspect the contacts for dirt or ink residue.
- Reinstall the cartridge firmly and close the cover.
- Print a nozzle check before doing anything else.
Suppose a 50-page text job prints every color accent but leaves the black body text blank after a cartridge swap. That often means the cartridge is not the only variable. If the nozzle check still shows broken black lines after reseating, the issue is likely clogging, an air pocket, or a bad cartridge rather than a setting alone.
Is the printhead clogged?
A clogged printhead is one of the most common reasons black ink is not printing properly on an inkjet printer. Dry ink can block nozzles after long idle periods, and the nozzle check usually reveals it before you spend ink on repeated cleaning. Broken or missing black lines on that pattern are a strong clog signal.
Run a nozzle check before cleaning
The nozzle check is the diagnostic pattern that separates a clogged head from a settings problem. If black lines are absent or broken, the printer is telling you that ink is not reaching the page in the expected pattern. If the black lines are solid, the head is probably not the first place to spend maintenance cycles.
Use cleaning cycles sparingly
Use the printer’s built-in head cleaning function after the nozzle check, not before it. Most Epson guidance says to run cleaning cycles two to three times at most, and Castle Ink says not to run more than three back-to-back. Extra cycles burn through ink fast and can hide the real fault.
Run one cleaning cycle, then print the nozzle check again. If the black pattern improves, stop there. If nothing changes after one to three cycles, the problem may be a blocked head, a bad cartridge, trapped air, or electronics that need service rather than more ink waste.
When manual wiping or alignment makes sense
Manual wiping with distilled water can help when the printer allows access to the head and the black nozzles still show dried residue after a normal cycle. Use a lint-free swab lightly dampened with distilled water, and keep liquid out of the contacts and electronics. Some printers also need head alignment after cleaning, especially when text looks offset or thin.
Do not use tap water or soak the head. That can leave minerals behind. If the printer’s maintenance menu includes an alignment step, run it after the nozzle pattern improves, not before, because alignment cannot fix a blocked nozzle.
Are settings or drivers blocking black?
Print settings can suppress black output even when the cartridge and head are fine. Grayscale, color mode, paper type, black-and-white options, draft mode, and photo modes all affect which channel the printer uses. A wrong paper type can make the driver choose the wrong black path or build black from color inks instead.
Check grayscale, color, and black-and-white modes
Look for a grayscale or black-and-white setting that may be forcing a different output path than you expect. Some drivers also route black through a draft or photo profile that changes how text is rendered. For a test, switch to a plain-document setting on standard paper and print a short text page.
Match paper type to the job
Paper type matters because the driver uses it to decide how to lay down ink. A glossy or photo choice can change the black channel, while plain paper keeps the path simpler. If the wrong paper type is selected, black may print faintly, come out in the wrong tone, or fail to appear as expected.
Update or reinstall the printer driver
A printer driver can be outdated or corrupted and can send the wrong color profile or channel data. If the nozzle check looks good but black still does not print from the computer, update the driver first. If that does not help, remove the driver and reinstall the current package from the printer maker.
Why Epson black ink can miss the page
Some Epson models use Photo Black and Matte Black, and the driver chooses between them based on paper type. If the wrong black type is selected, the printer may print color but skip the black channel you expected. That can look like a cartridge fault when the real problem is channel selection.
Photo black versus matte black
Photo Black is usually used for glossy or photo papers. Matte Black is usually used for matte and fine-art papers. If the paper setting does not match the media, the printer may select the wrong black or keep the right black idle. The Epson guide says the wrong paper type can cause the wrong black to be used.
Composite black from cyan, magenta, and yellow
Some Epson printers can build composite black from cyan, magenta, and yellow instead of using a dedicated black channel. That fallback can look faded if another color is empty or weak. If black text looks gray and one color tank is low, the printer may be trying to fake black rather than using the black channel you expected.
Air bubbles and channel selection checks
Air bubbles can break ink flow in the black path even when the tank is not empty. If the model has a visible ink supply path or a maintenance menu that can prime the line, check that next. If the black channel is selected correctly but still does not fire, the problem may be in the supply path rather than the paper setting.
Picture an Epson photo printer set to plain paper with Matte Black installed. If the job is sent as glossy media, the printer may choose Photo Black or the wrong route altogether. The output can look like a black failure, but the actual issue is the mismatch between media and channel selection.
Frequently asked questions
Why is my printer printing color but not black?
That usually means the fault is isolated to the black path. The most common causes are an empty or misseated black cartridge, a clogged printhead, the wrong paper or grayscale setting, or a driver problem. A nozzle check is the fastest way to see whether black is blocked at the head or suppressed by software.
How do I fix a printer not printing black ink?
Start with the nozzle check, then verify cartridge seating and tape removal, then review paper type and black-and-white settings. If black still fails, run one cleaning cycle and retest. If the pattern does not improve after one to three cycles, stop and move to cartridge replacement or service.
Is my black ink cartridge empty or just clogged?
If the printer reports low ink or the cartridge is near empty, the answer may be simple. If the cartridge has ink but the nozzle pattern shows broken black lines, a clog is more likely. If a new cartridge also fails, suspect tape left on, bad seating, air bubbles, or a defective cartridge.
How many printhead cleaning cycles should I run?
Use the cleaning cycle once, then recheck the nozzle pattern. If needed, repeat up to two or three times, which matches the Epson guidance and the Castle Ink stop rule. More than that usually wastes ink and does not help a stubborn clog. If nothing changes, look beyond cleaning.
Why does my printer print faint or gray black text?
Faint or gray black text often means partial clogging, a wrong paper setting, or composite black being used instead of the dedicated black channel. On some Epson models, the printer may also be picking Photo Black when Matte Black should be used, or vice versa. Low color ink can also make composite black look washed out.
Can a new black cartridge still fail to print?
Yes. A new cartridge can fail if the protective tape was not removed, if it is not seated correctly, if the chip is rejected, or if the cartridge is defective. If a fresh cartridge still does not print black and the nozzle check stays broken, the issue may be in the printhead or contact system rather than the ink supply.
Should I replace the cartridge or clean the printhead first?
Check the nozzle pattern first. If black lines are missing and the cartridge is low, replace the cartridge. If the cartridge is installed correctly and ink is present, run one cleaning cycle before replacing anything else. That order helps avoid throwing away a good cartridge when the head is the real problem.
